Are you tired of witnessing skyrocketing energy bills each month? Are you eager to cut down on your electricity expenses?…


Are you tired of witnessing skyrocketing energy bills each month? Are you eager to cut down on your electricity expenses?…
Click Here To Read The Full Article
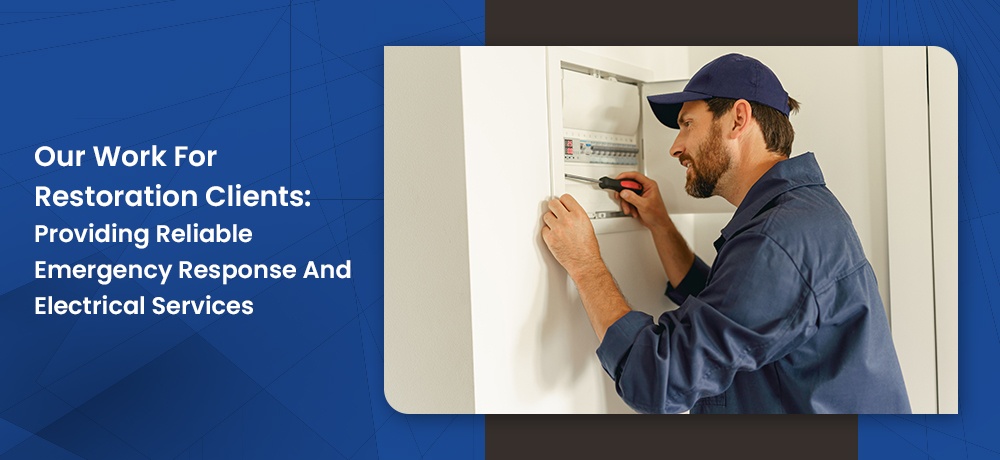
When disaster strikes, it's essential to have a reliable team that can respond quickly and efficiently to help restore your…
Click Here To Read The Full Article

Are you in need of electrical services for your home or business in Burnaby, Coquitlam, New Westminster, Port Moody, or…
Click Here To Read The Full Article

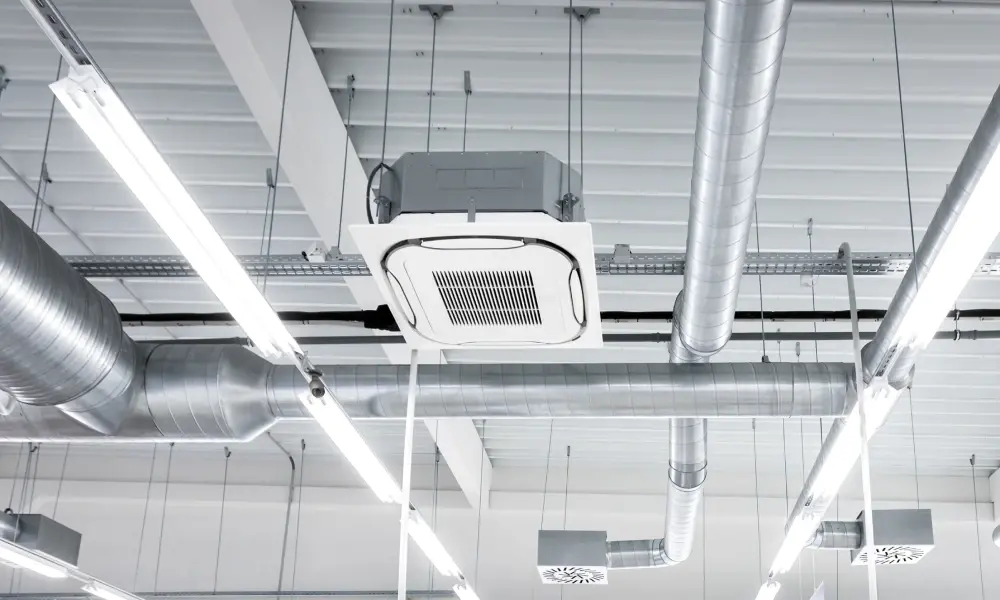
Owning or managing a commercial property comes with the responsibility of maintaining its electrical systems to prevent disruptions and ensure…
Click Here To Read The Full Article
When it comes to electrical work in your home or business, it's crucial to ensure it's done correctly and safely.…
Click Here To Read The Full Article

Hiring an Electrician Things to Consider When Hiring an Electrician Is hiring an electrician as simple as going online and picking one. I…
Click Here To Read The Full Article
In this blog post we are going to explain the Benefits of partnering with your Electrical Contractor for all your…
Click Here To Read The Full Article
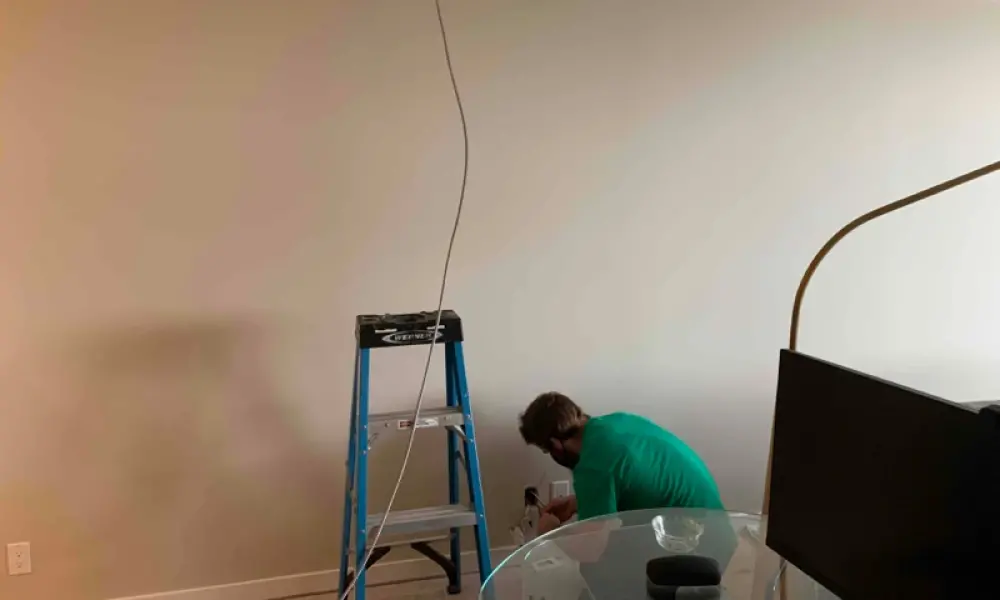
Electricians Support Property Managers In this project analysis, we showcase how PTX Electric helped the property manager with detailed project oversight…
Click Here To Read The Full Article
The electric panel is the heart of your Coquitlam home, and it requires regular “ECG” checks and maintenance. (Get it??) If you have…
Click Here To Read The Full Article
What is a Lighting Audit? PTX Electric’s recent lighting audit story. Prologue: Over the past several years PTX Electric has been invited to prepare and…
Click Here To Read The Full Article
In this blog post, we’ll review 8 ways Electricians can increase your Coquitlam property value. Prologue When it comes to increasing your…
Click Here To Read The Full Article
When hiring a qualified electrical contractor it’s very important that property management get it right. A building or facility electrical system…
Click Here To Read The Full Article
Flickering lights can range from the most basic problem to more serious reasons. If you notice your lights flickering from time…
Click Here To Read The Full Article
How Electrical Inspections Reduce Insurance Premiums Introduction: Insurance companies depend upon Electrical trade professionals to evaluate your home or facilities electrical system…
Click Here To Read The Full Article
Electrical Service Calls – Greater Vancouver Area: Electrical Soup for the Homeowners Soul Looking for an experienced electrician to handle your electrical…
Click Here To Read The Full Article
Reasons You Should Replace Your Outlets and Switches In this blog post, we are going to talk to you about why…
Click Here To Read The Full Article
House fires in Vancouver are a threat to your family’s safety which is why it’s important to always be prepared…
Click Here To Read The Full Article
In this post, we’ll give you 9 tips on how to save on electricity during the holidays. The holiday season brings…
Click Here To Read The Full Article
Not all electrical projects should be done by a novice. But we get it – you love doing stuff on…
Click Here To Read The Full Article
A lighting audit from a certified Vancouver electrician is a thorough onsite inspection of a house, building, or commercial facility…
Click Here To Read The Full Article